|
|
使用 FFmpeg
1. 安装 Python 库
pip install numpy soundfile matplotlib
同时电脑需要安装 FFmpeg。
Windows 可以检查:
ffmpeg -version
如果能看到版本号,就说明安装好了。
2. 完整代码:直接分析 MP3
假设你的文件叫:
piano.mp3
代码:
import subprocess
import numpy as np
import soundfile as sf
import matplotlib.pyplot as plt
import tempfile
import os
# ============================================================
# 1. 参数设置
# ============================================================
# MP3 文件
mp3_file = "piano.mp3"
# FFT 分析从第几秒开始
start_time = 1.0
# 分析多长时间
analysis_duration = 0.5
# FFT 频谱显示到多少 Hz
max_display_freq = 5000
# ============================================================
# 2. 创建临时 WAV 文件
# ============================================================
# NumPy/soundfile 本身并不负责 MP3 解码。
#
# 所以这里先:
#
# MP3
# ↓
# FFmpeg
# ↓
# WAV
# ↓
# NumPy
# ↓
# FFT
#
# 临时 WAV 文件放到系统临时目录。
temp_wav = os.path.join(
tempfile.gettempdir(),
"piano_temp.wav"
)
# ============================================================
# 3. 使用 FFmpeg 将 MP3 转换成 WAV
# ============================================================
command = [
"ffmpeg",
# 如果目标文件已经存在,自动覆盖
"-y",
# 输入 MP3
"-i",
mp3_file,
# 转换成 44100 Hz
"-ar",
"44100",
# 转换成双声道
"-ac",
"2",
# PCM 16 bit
"-sample_fmt",
"s16",
# 输出 WAV
temp_wav
]
print("正在使用 FFmpeg 解码 MP3...")
result = subprocess.run(
command,
stdout=subprocess.PIPE,
stderr=subprocess.PIPE,
text=True
)
# ============================================================
# 4. 检查 FFmpeg 是否成功
# ============================================================
if result.returncode != 0:
print("FFmpeg 执行失败:")
print(result.stderr)
raise RuntimeError(
"MP3 转 WAV 失败,请检查 FFmpeg 是否安装"
)
print("MP3 解码完成")
# ============================================================
# 5. 读取 WAV
# ============================================================
audio, sample_rate = sf.read(
temp_wav
)
print()
print("采样率:", sample_rate)
print("音频数据形状:", audio.shape)
# ============================================================
# 6. 转换为单声道
# ============================================================
# 如果原 MP3 是立体声:
#
# audio.shape
#
# (采样点数量, 2)
#
# 第 0 列 = 左声道
# 第 1 列 = 右声道
#
# FFT 分析音色时,这里简单地把左右声道平均。
if audio.ndim == 2:
audio = np.mean(
audio,
axis=1
)
# ============================================================
# 7. 截取分析片段
# ============================================================
start_sample = int(
start_time * sample_rate
)
end_sample = int(
(start_time + analysis_duration)
* sample_rate
)
if start_sample >= len(audio):
raise ValueError(
"start_time 超过 MP3 音频长度"
)
end_sample = min(
end_sample,
len(audio)
)
segment = audio[
start_sample:end_sample
]
print()
print("分析开始时间:", start_time)
print("分析时长:",
len(segment) / sample_rate,
"秒")
print(
"分析采样点:",
len(segment)
)
# ============================================================
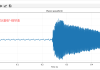
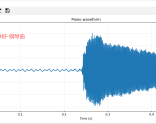
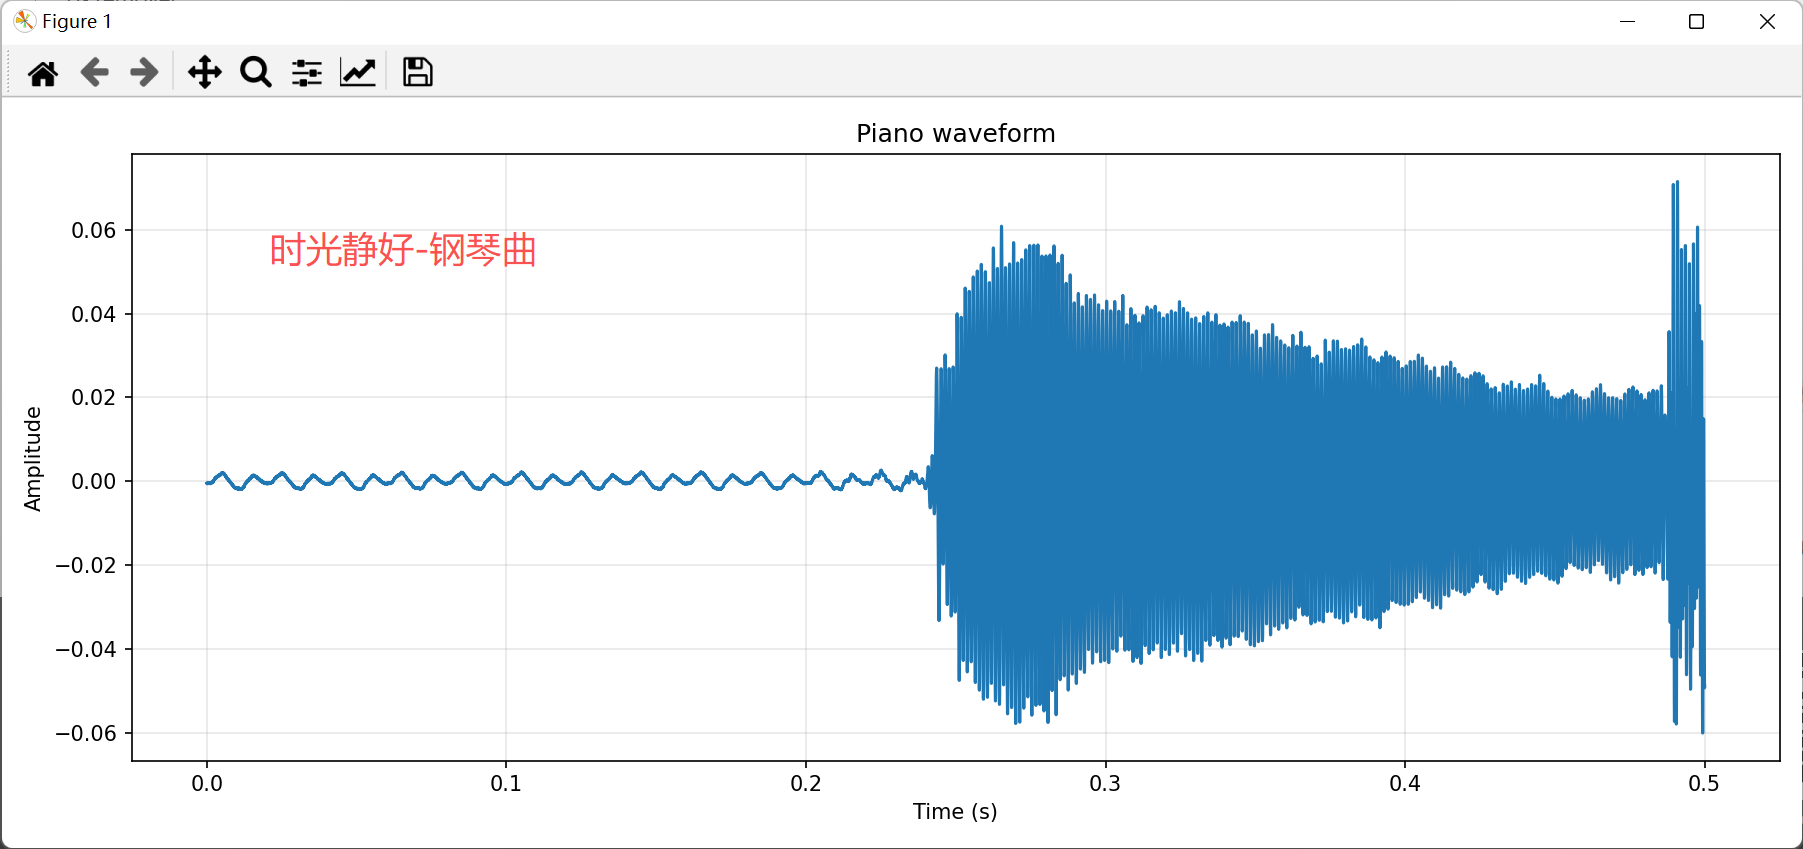
# 8. 绘制钢琴声音的时域波形
# ============================================================
time_axis = (
np.arange(len(segment))
/ sample_rate
)
plt.figure(
figsize=(12, 5)
)
plt.plot(
time_axis,
segment
)
plt.xlabel("Time (s)")
plt.ylabel("Amplitude")
plt.title(
"Piano waveform"
)
plt.grid(
True,
alpha=0.3
)
plt.tight_layout()
plt.show()
# ============================================================
# 9. 使用 Hann 窗
# ============================================================
# 直接截取一段声音进行 FFT,
# 会产生频谱泄漏。
#
# Hann 窗可以降低这种影响。
window = np.hanning(
len(segment)
)
windowed_signal = (
segment * window
)
# ============================================================
# 10. FFT
# ============================================================
fft_result = np.fft.rfft(
windowed_signal
)
# ============================================================
# 11. 计算频率轴
# ============================================================
freqs = np.fft.rfftfreq(
len(windowed_signal),
d=1 / sample_rate
)
# ============================================================
# 12. 计算 FFT 幅度
# ============================================================
magnitude = np.abs(
fft_result
)
# 归一化
magnitude = (
magnitude
/ (magnitude.max() + 1e-12)
)
# ============================================================
# 13. 转换成 dB
# ============================================================
magnitude_db = (
20
* np.log10(
magnitude + 1e-12
)
)
# ============================================================
# 14. 限制显示范围
# ============================================================
mask = (
freqs <= max_display_freq
)
display_freqs = freqs[
mask
]
display_magnitude_db = (
magnitude_db[mask]
)
# ============================================================
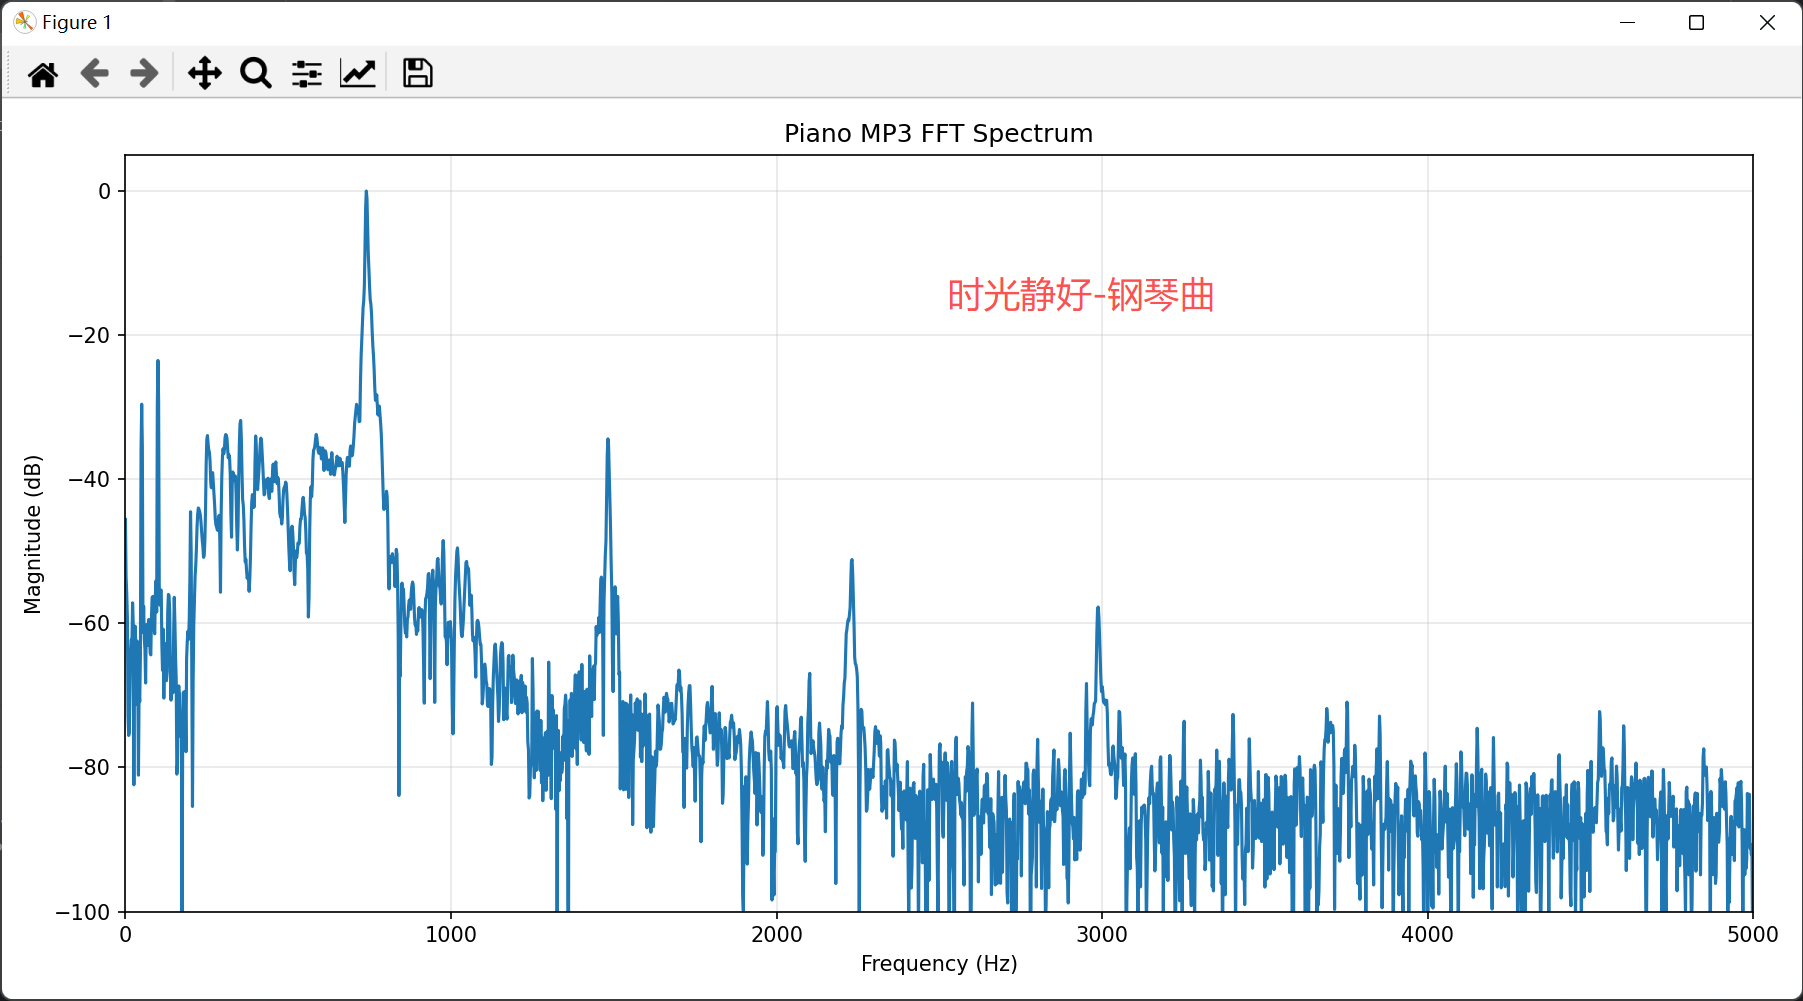
# 15. 绘制 FFT 频谱
# ============================================================
plt.figure(
figsize=(12, 6)
)
plt.plot(
display_freqs,
display_magnitude_db
)
plt.xlabel(
"Frequency (Hz)"
)
plt.ylabel(
"Magnitude (dB)"
)
plt.title(
"Piano MP3 FFT Spectrum"
)
plt.xlim(
0,
max_display_freq
)
plt.ylim(
-100,
5
)
plt.grid(
True,
alpha=0.3
)
plt.tight_layout()
plt.show()
# ============================================================
# 16. 删除临时 WAV
# ============================================================
try:
os.remove(
temp_wav
)
print()
print("临时 WAV 已删除")
except OSError:
pass
使用钢琴曲:时光静好-钢琴曲
https://www.aigei.com/item/shi_guang_jing_28.html
|
|